How to Register Your Organization
Create your Staffic account, verify your email, then walk through the organization wizard to name your company, add a first project, and choose a plan.
Create Your Account
Step 1: Register
Open Staffic Registration and fill in your details, or use Continue with Google / Microsoft.
First Name & Last Name
Your personal name. This appears on your profile and across the app.
Email
Used to sign in and receive the verification code. Use a work email when possible.
Password
Choose a strong password. Use the eye icon to show or hide it while typing.
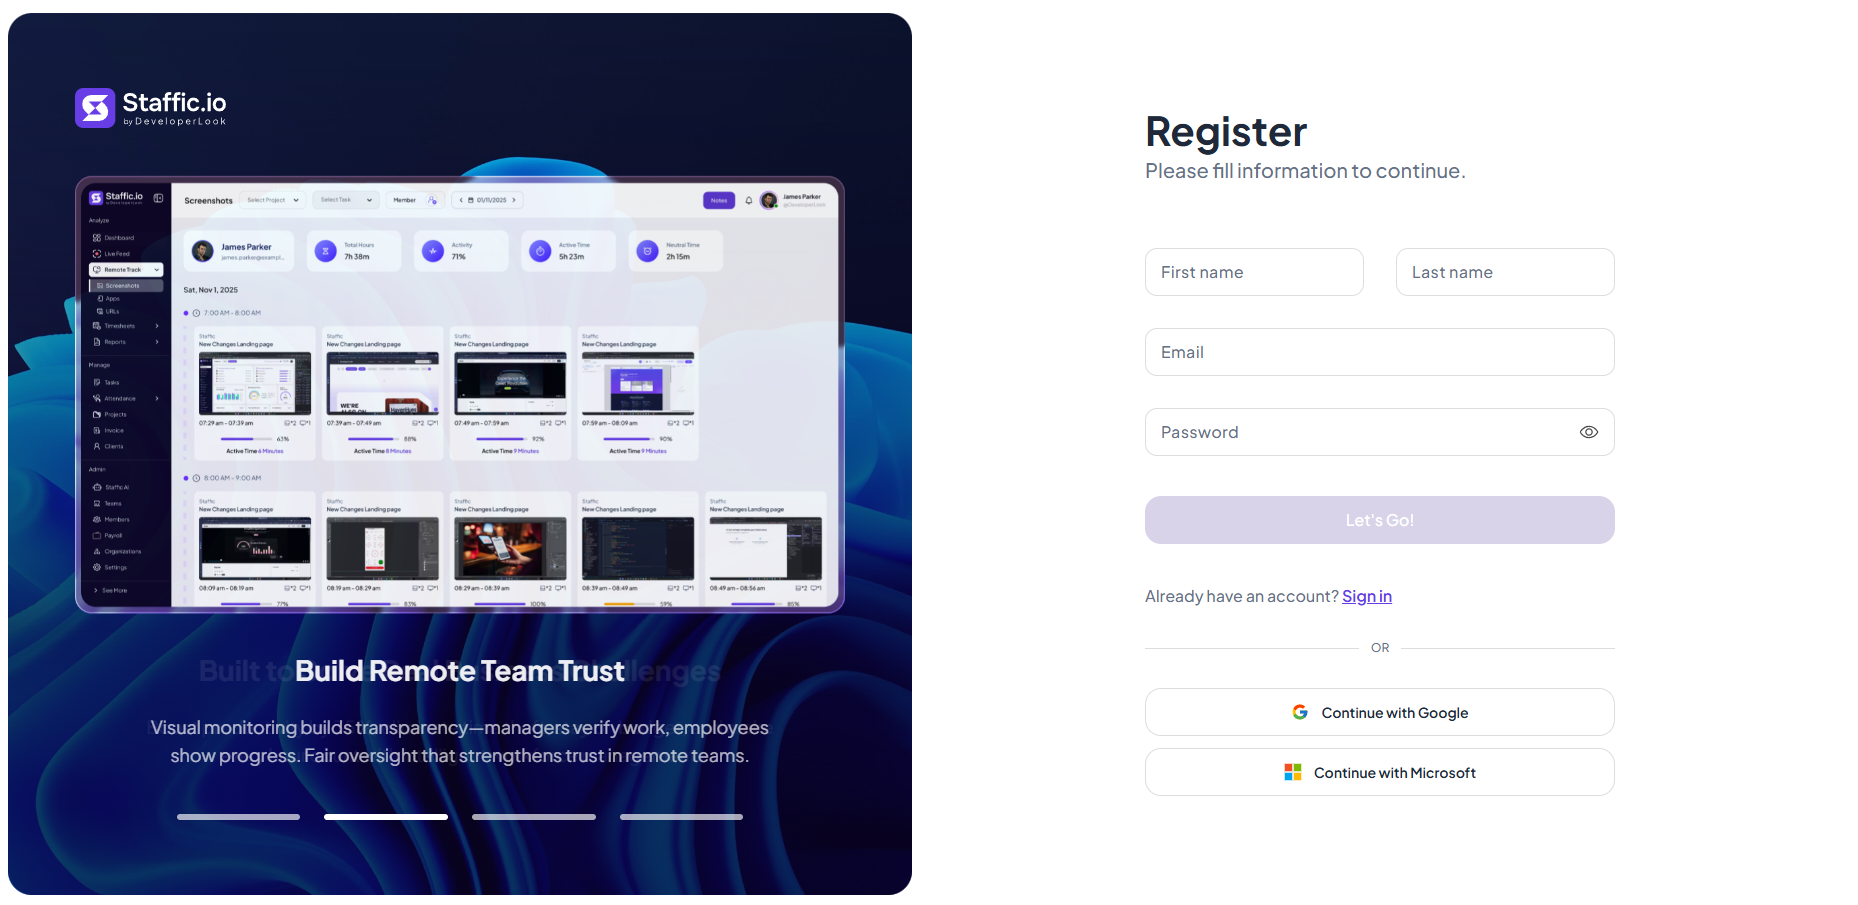
Step 2: Click Let's Go!
After filling the form, click Let's Go! to submit. If you already have an account, use Sign in instead.
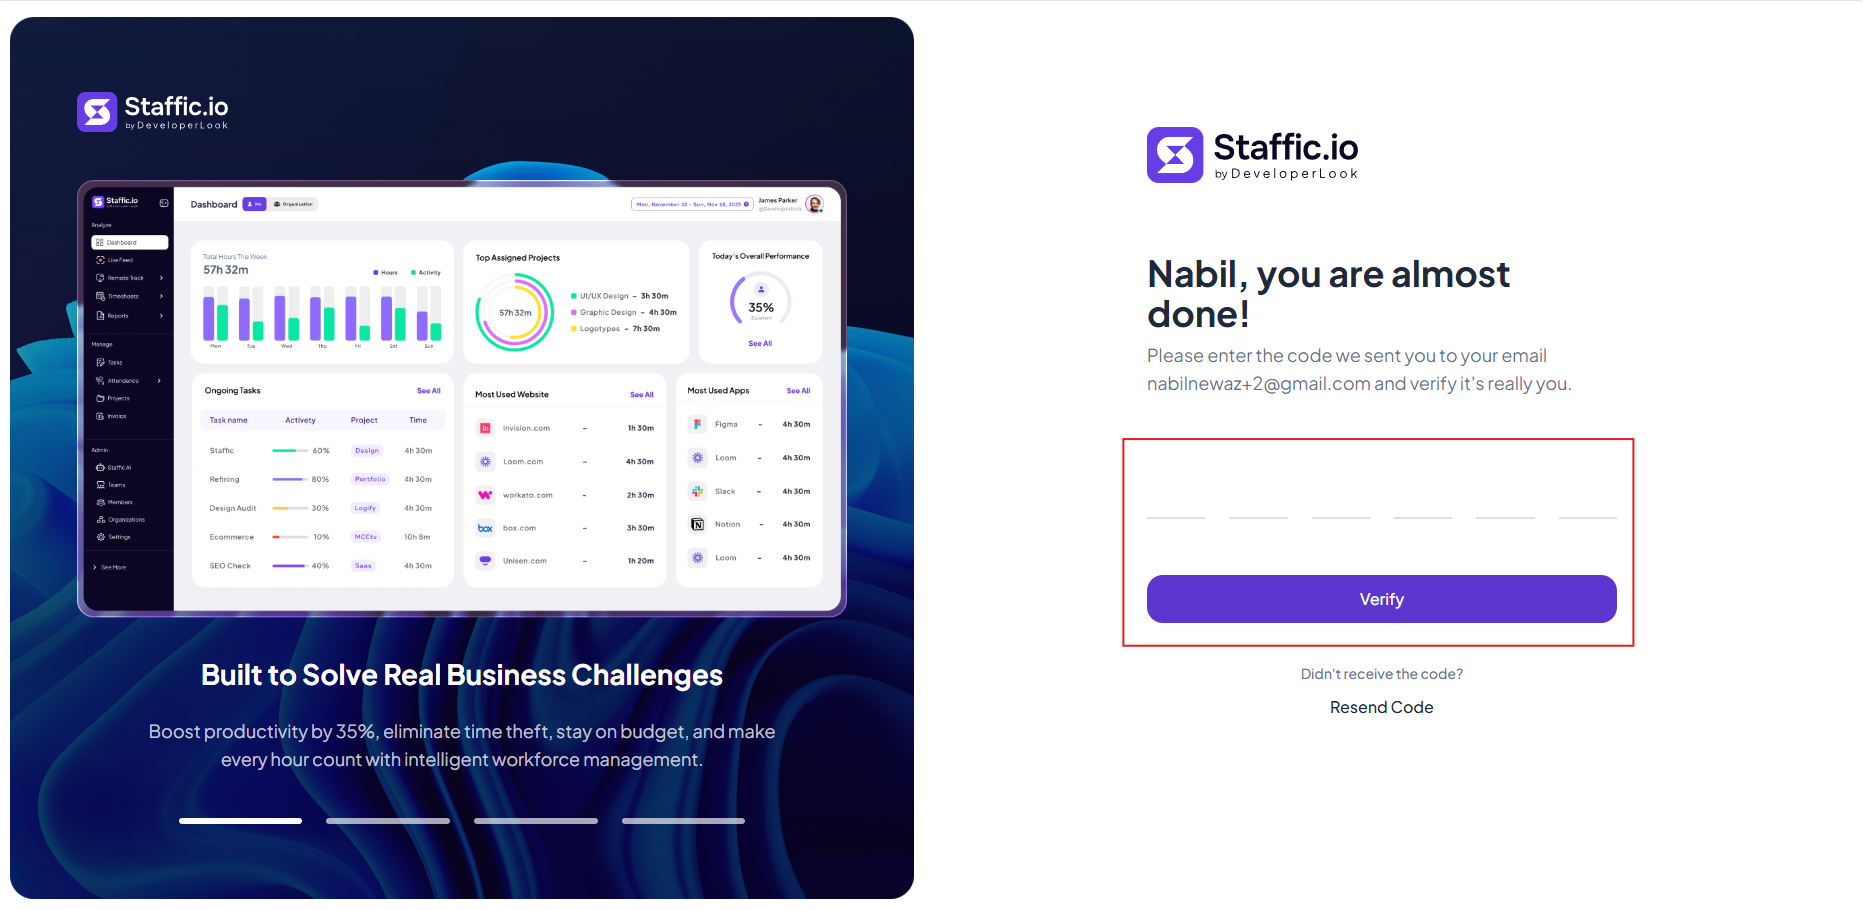
Step 3: Verify Your Email
Enter the 6-digit code sent to your email address, then click Verify.
Didn't receive the code? Click Resend Code and check your spam folder.
Register Your Organization
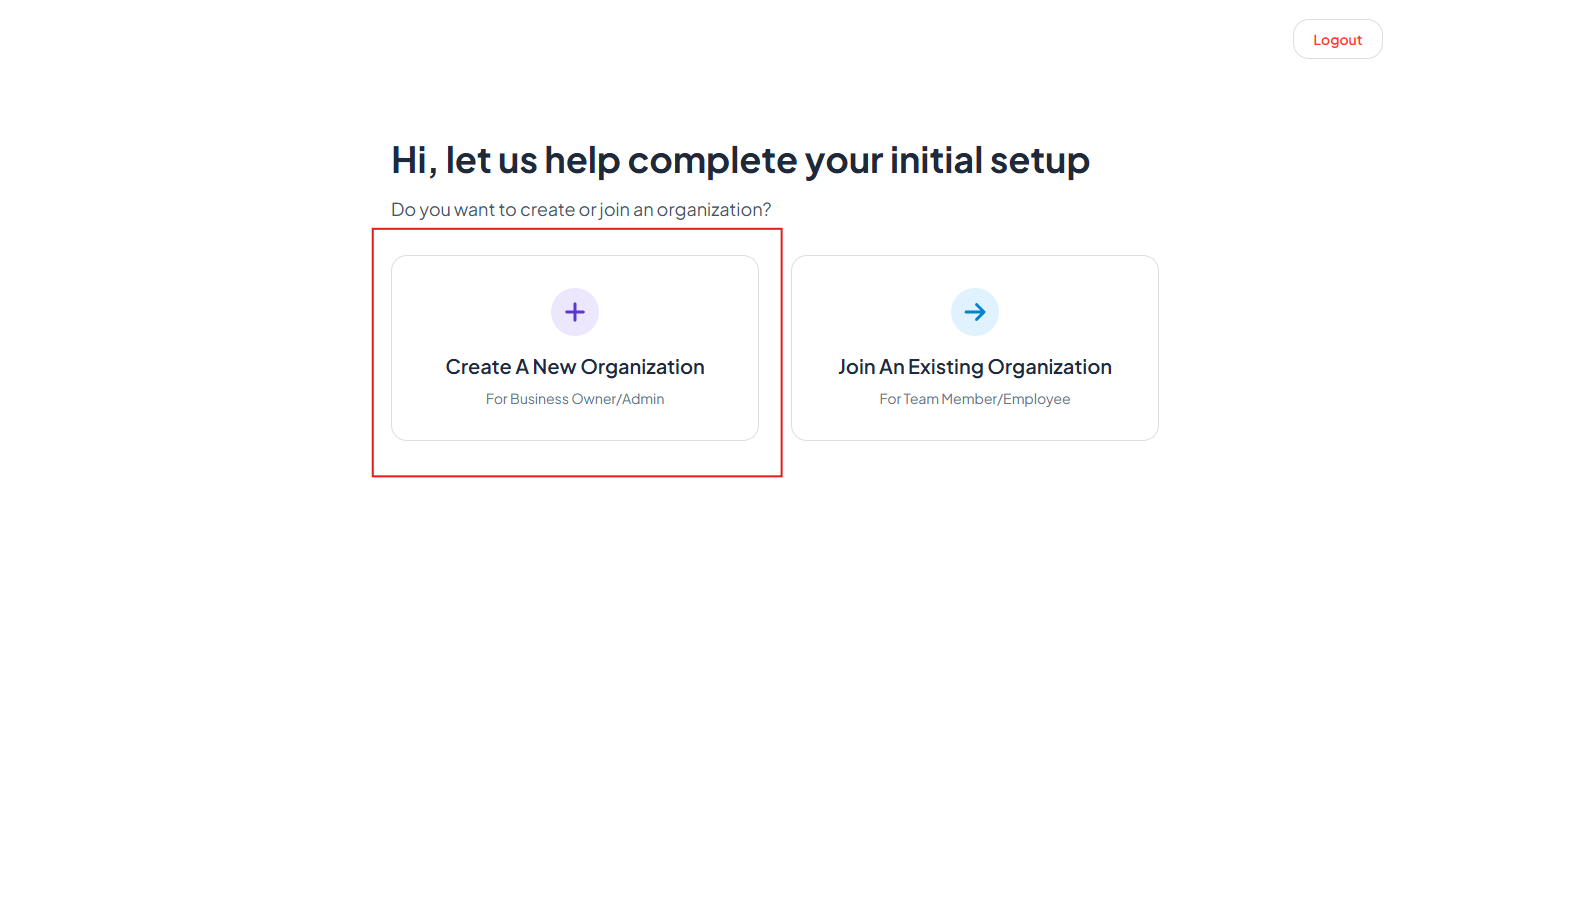
Step 1: Create A New Organization
On the initial setup screen, select Create A New Organization (For Business Owner/Admin). Team members should choose Join An Existing Organization instead.
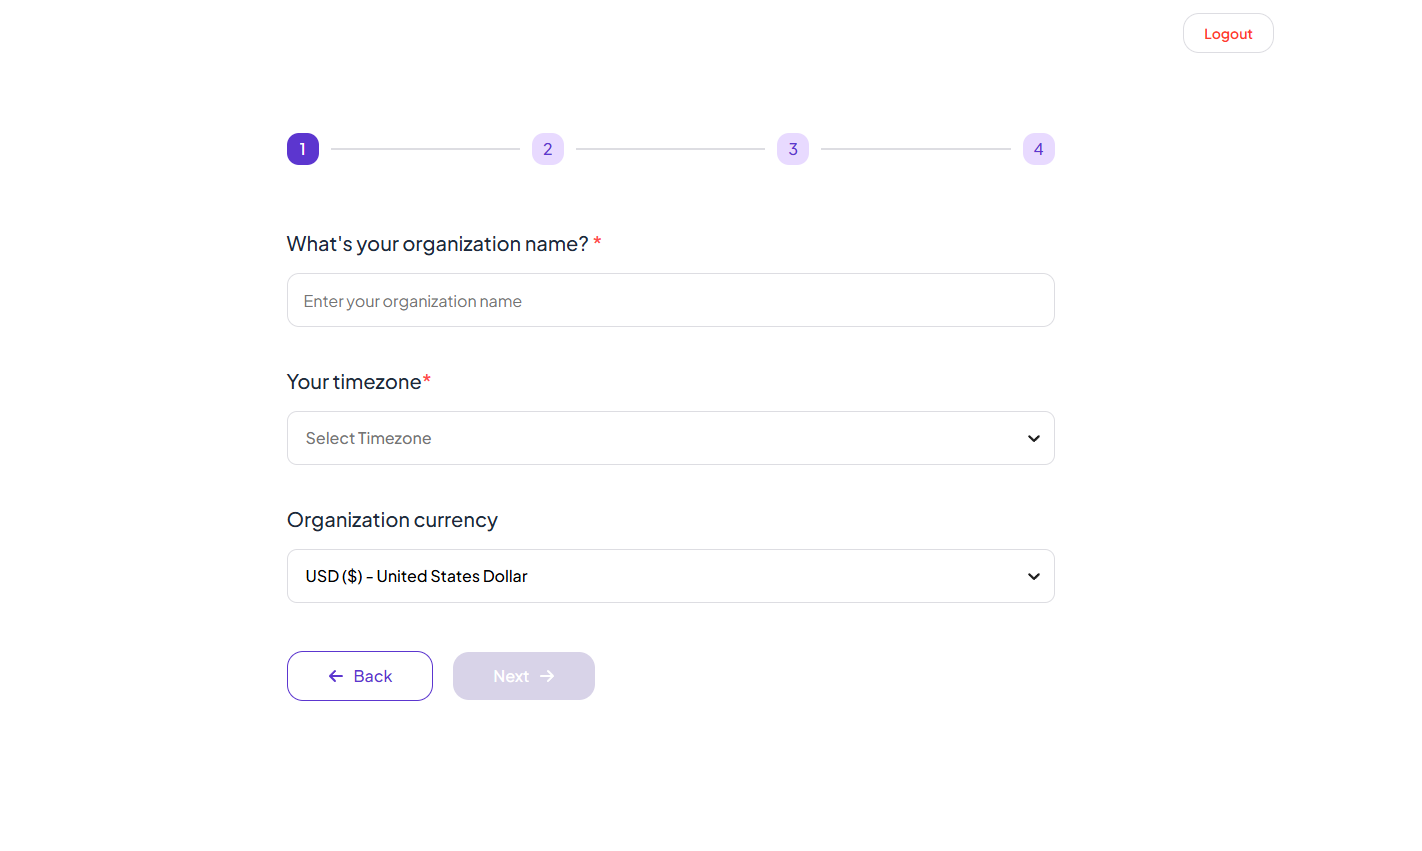
Step 2: Enter Organization Details
Complete step 1 of the setup wizard (4 steps total). Fill in the required fields:
Organization Name
Your company or team name. Members will see this in the app header and invites.
Your Timezone
Required for accurate timesheets, attendance, and reports. Pick the timezone where your team primarily works.
Organization Currency
Defaults to USD. Used for billing, invoices, and payroll where applicable.
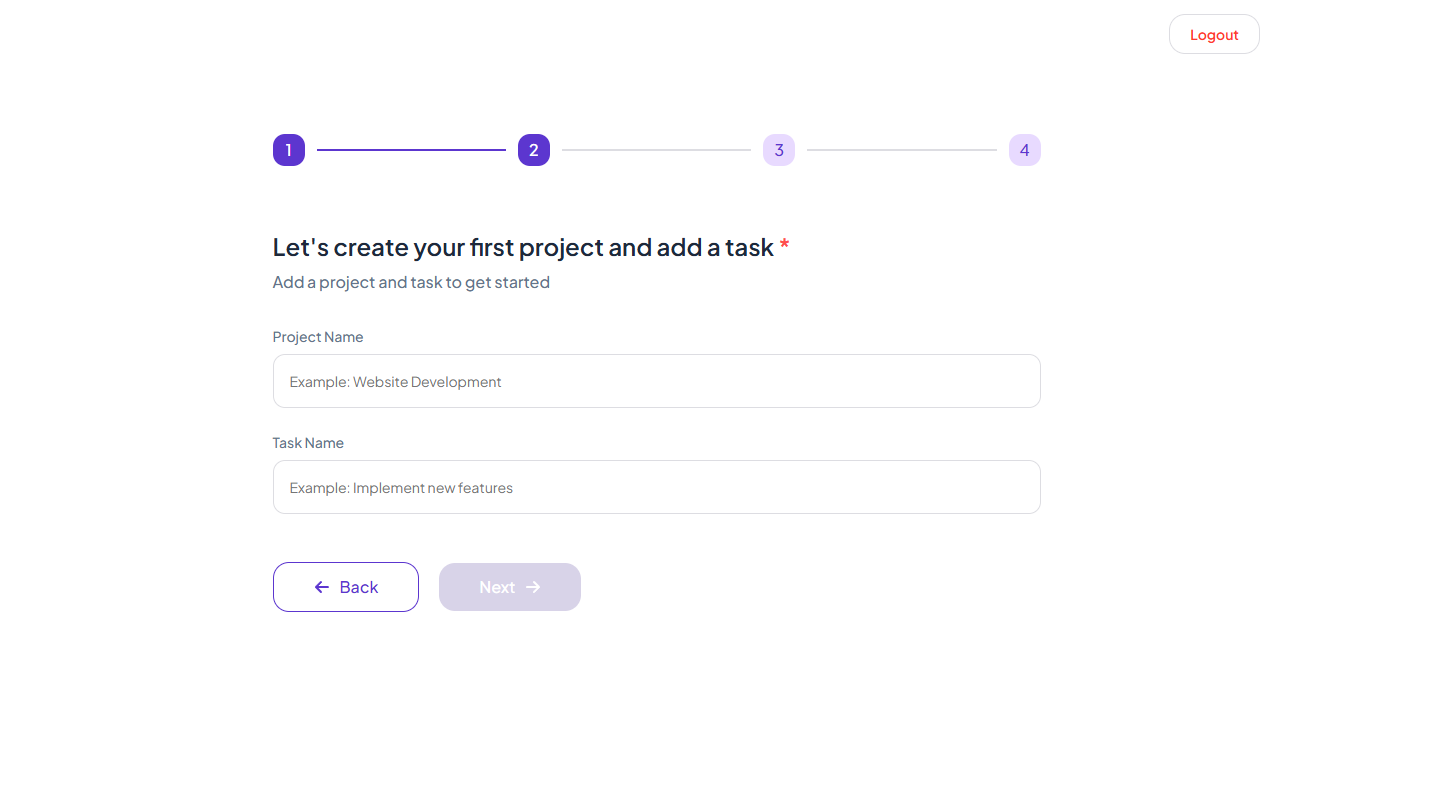
Step 3: Create Your First Project & Task
Add a starter project and task so your team can begin tracking time right away. Click Next when both fields are filled.
Project Name
Example: Website Development. Projects group tasks, time entries, and reports.
Task Name
Example: Implement new features. Tasks are what members track time against.
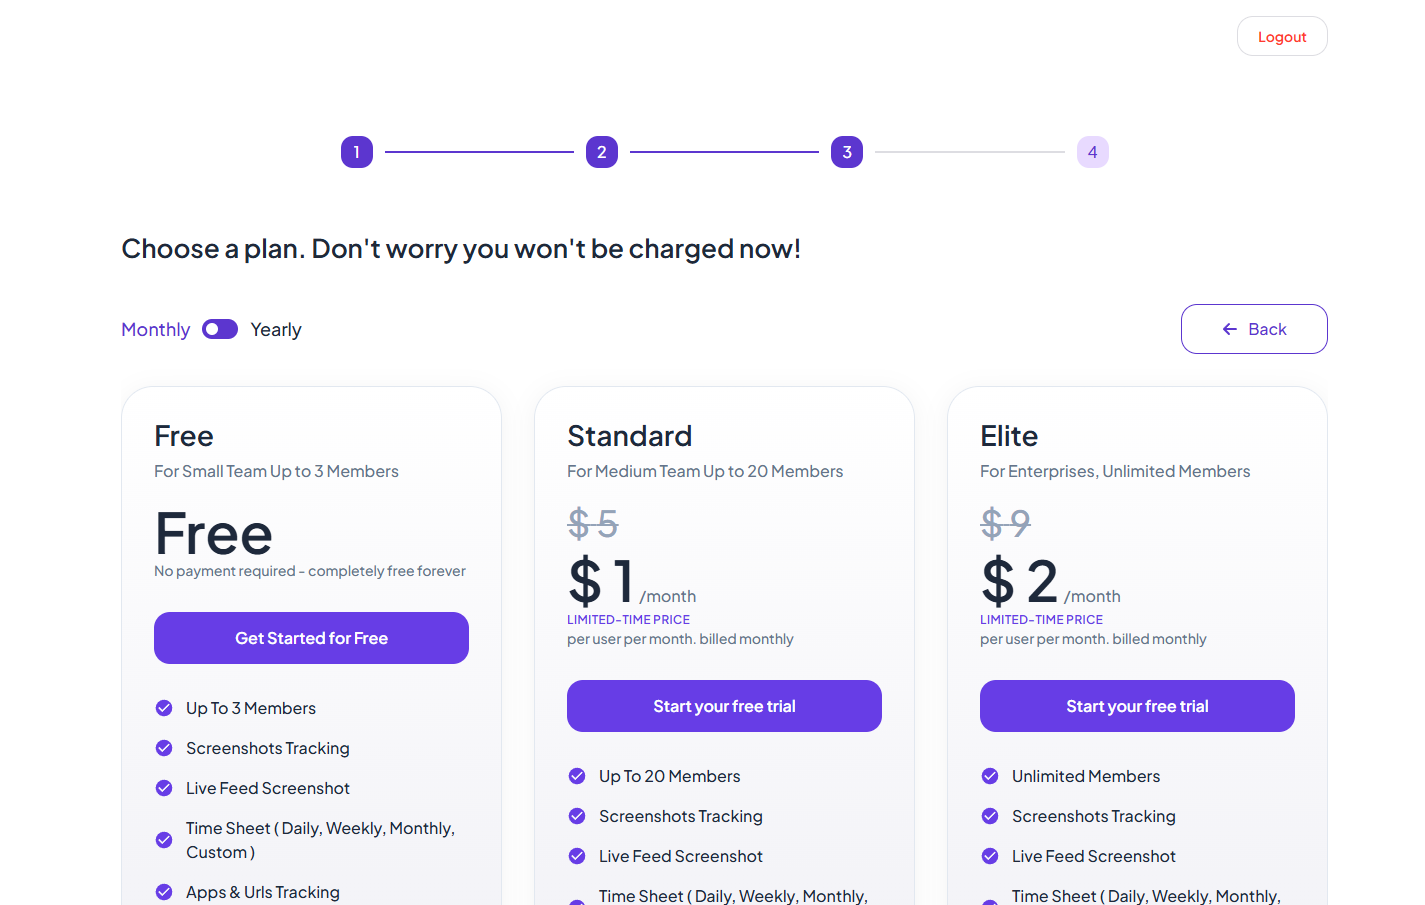
Step 4: Choose A Plan
Select Free, Standard, or Elite. Toggle Monthly or Yearly billing. You will not be charged during setup — pick Get Started for Free or Start your free trial to continue.
Step 5: Complete Your Workspace Setup
After registration, use the workspace checklist to finish onboarding: verify email, create your first project, invite members, assign projects, and enable tracking.
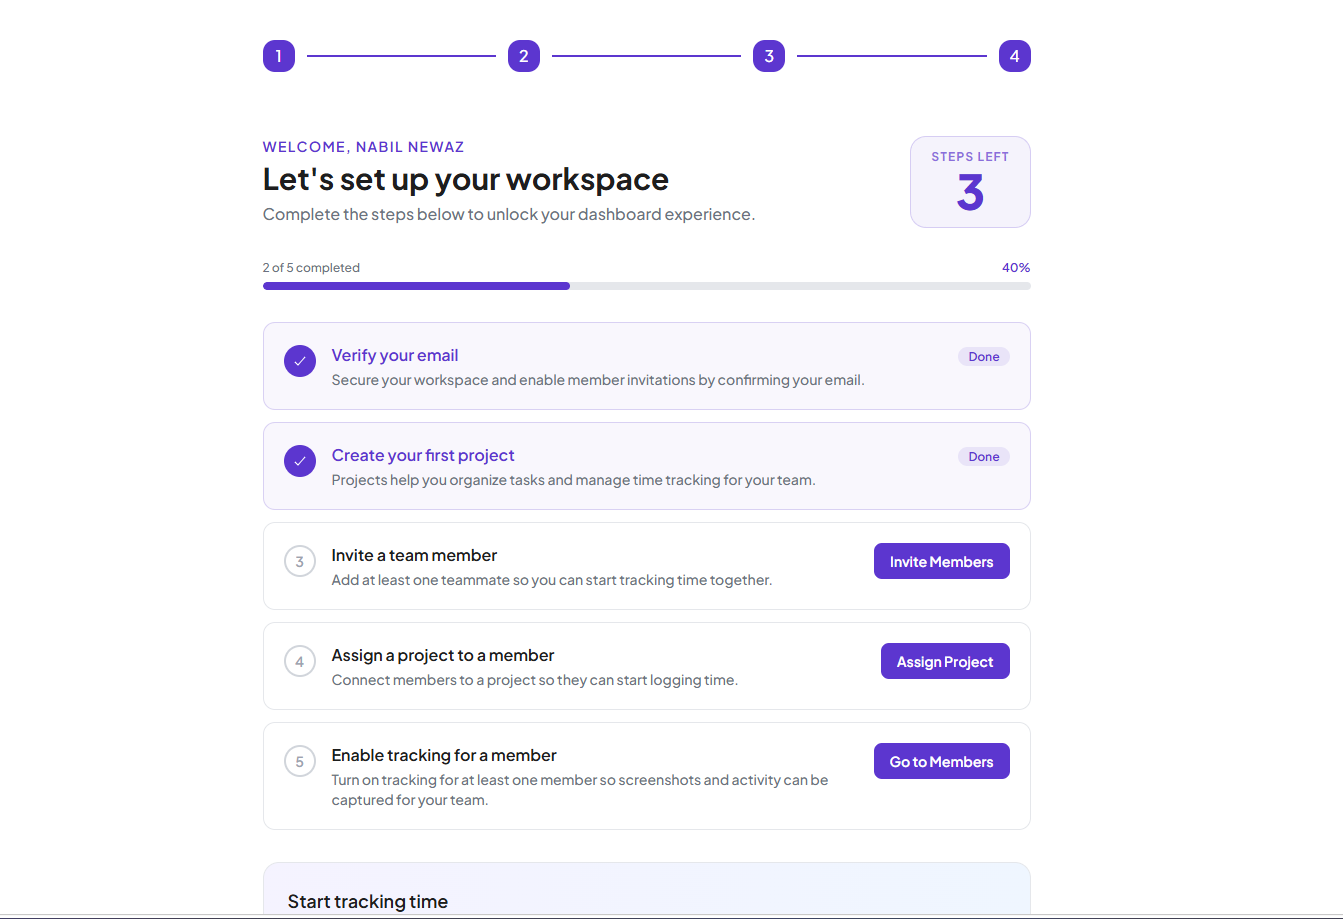
Congratulations! Your organization is registered. Open the dashboard from the sidebar to start tracking time, or complete the remaining checklist items to invite your team.
Tips
- Use a company email domain so invites are easy for teammates to recognize.
- The first user who creates the organization becomes an admin with full access to Members, Settings, and billing.
- You can switch between organizations later from the app header if you belong to more than one.
Ready to get started?
Create your organization, invite your team, and start tracking in minutes.
Start Free Trial