



Admin Settings
How to Use Timesheet Settings
AdminTimesheet Settings has two switches for the whole organization. One lets members add manual time. The other makes tracked time need approval before hourly payroll pays it.
- Where
- Admin > Settings > Timesheet Settings
- Who
- Admins only
- Plan
- Manual Time: Standard and Elite. Timesheet Approval: Elite.
Manual time is time added by hand instead of by the desktop timer, for example a meeting away from the computer. Timesheet approval means someone checks each finished day of tracked time before hourly payroll pays it.
Both switches apply to everyone in the organization you have open. New organizations start with both on. Each one takes effect once your plan includes it.
Open Timesheet Settings
Step 1: Open Settings
In the sidebar, under Admin, click Settings.
Step 2: Open Timesheet Settings
Under Features, click Timesheet Settings. The page opens on the Timesheet Approval tab. The Manual Time tab sits next to it.
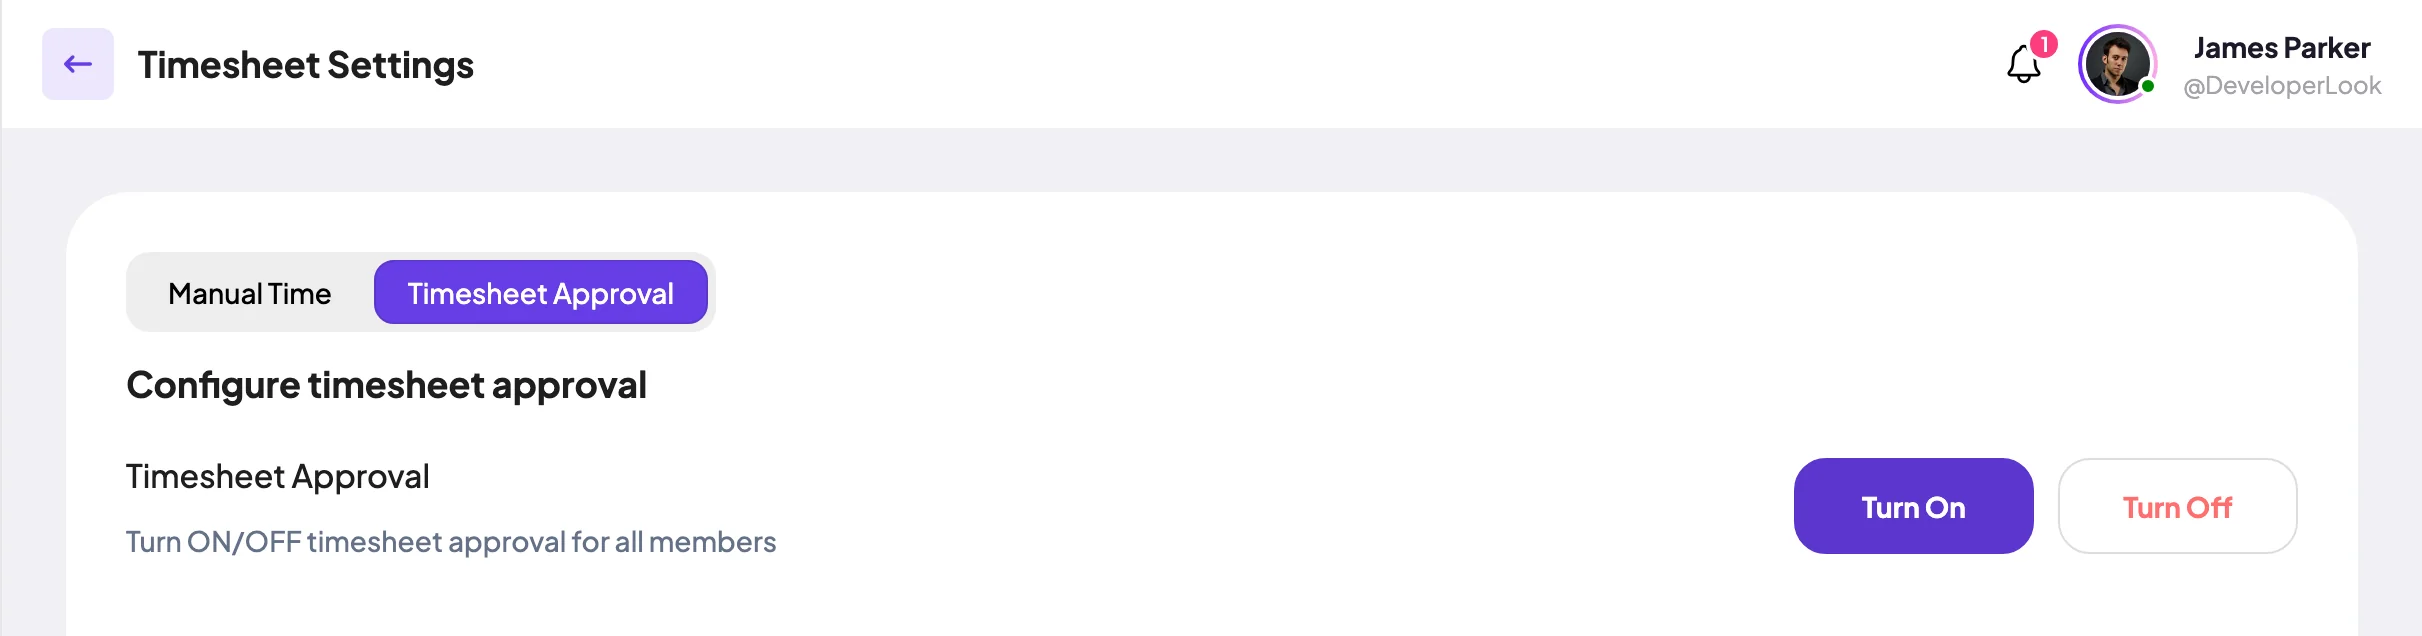
If your plan doesn't include a switch, clicking it shows a message with the plan you need, and the setting stays as it was.
Allow members to add manual time
Step 1: Open the Manual Time tab
Click Manual Time. The tab shows Configure manual time settings.
Step 2: Turn the switch on or off
Next to Manual Time (Allow members to add manual time), click the switch. It shows ON or OFF, and the message Timesheet settings updated successfully. confirms it.
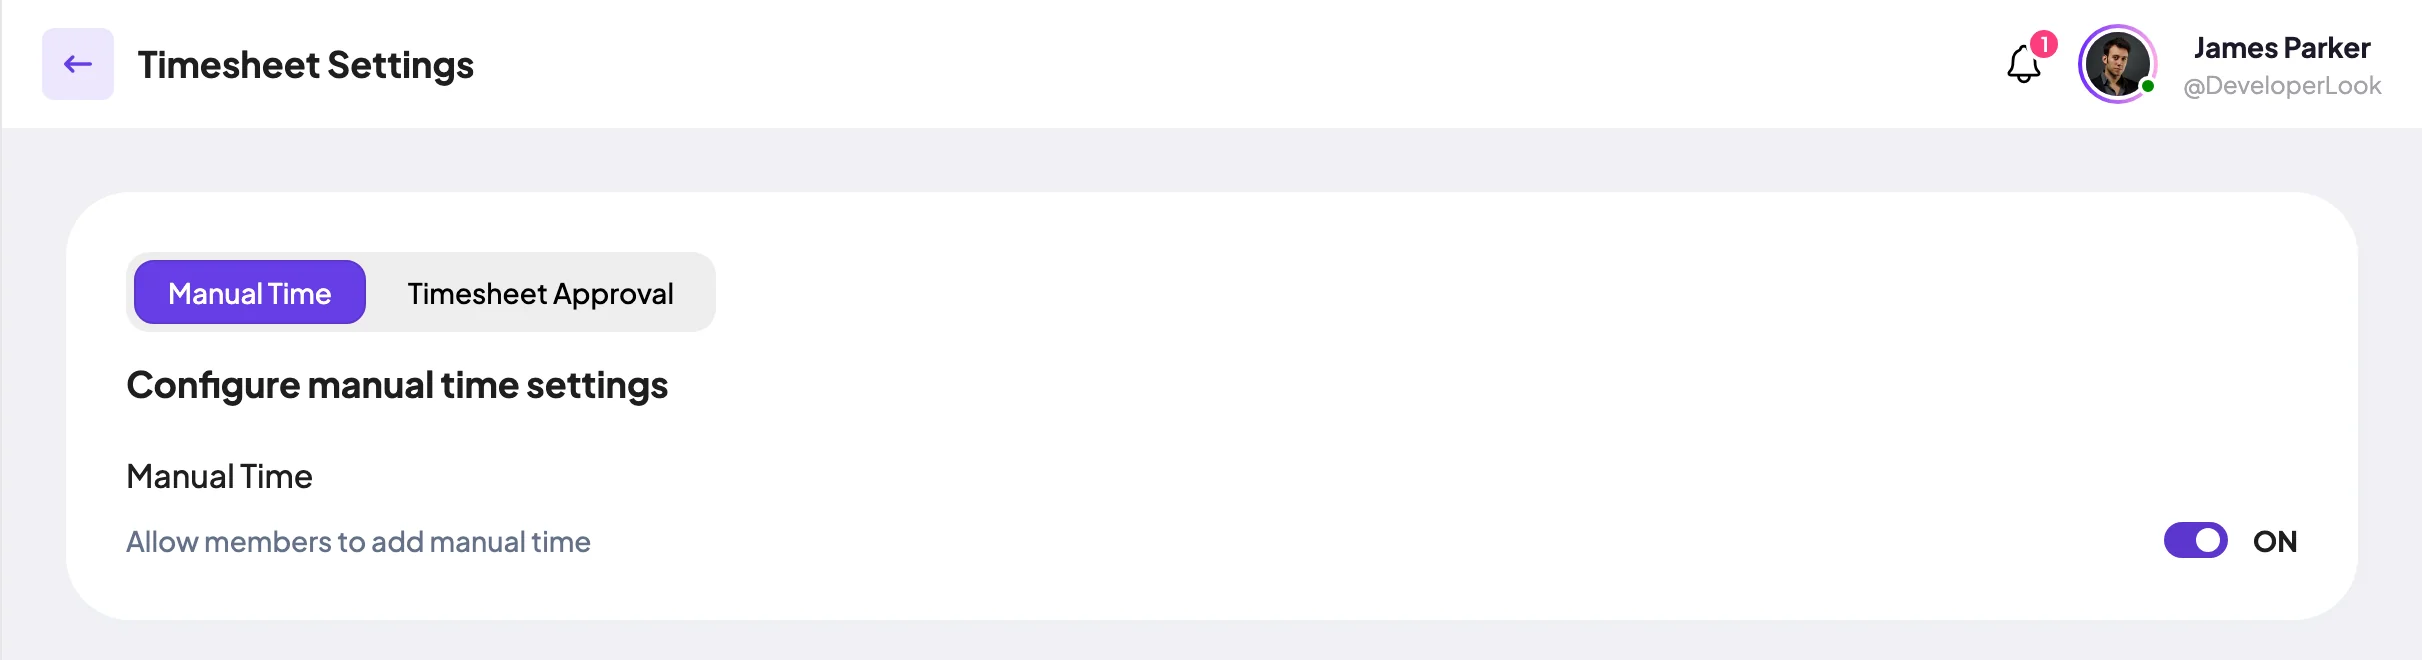
What the switch changes
- ON
- Members can add manual time for themselves with the Manual Time button on Analyze > Timesheets > Daily. Members whose Access Control role includes Timesheets can also add time for other members.
- OFF
- Members can't add manual time. Admins always can, whatever the switch says.
Each entry needs a project, a date, a start and end time, and a reason. Activity is set to 80% unless you change it. An entry can't be longer than 24 hours, end in the future or overlap time already logged. Every entry shows in the Manual Time report. For the steps, see the daily timesheet.
Turn timesheet approval on or off
Step 1: Open the Timesheet Approval tab
Click Timesheet Approval if another tab is open. The tab shows Configure timesheet approval.
Step 2: Click Turn On or Turn Off
Next to Timesheet Approval (Turn ON/OFF timesheet approval for all members), click Turn On or Turn Off. The highlighted button shows the current state.
What changes when approval is on
- Members
- Nothing to do. There's no submit step: each finished day waits on Analyze > Timesheets > Approval, in the Awaiting tab.
- Approvers
- Admins, and members whose Access Control role includes Timesheets or Members, approve or reject the time there.
- Payroll
- Hourly payments count only approved time. With approval off, they count all tracked time except rejected time.
- Timesheets and reports
- They still show all tracked time. Rejecting time doesn't delete it. Invoices don't use approval.
New organizations start with Timesheet Approval on. On Elite, hourly payroll then pays only approved time. Approve the days on the Awaiting tab before you pay, or turn approval off. See Timesheet Approval.
Common questions
Can admins add manual time when the switch is off?
Yes. The switch only controls members. Admins can always add manual time for anyone, on Standard and Elite.
Do members have to submit their timesheets?
No. When approval is on, each finished day goes to the Awaiting tab on its own. An admin, or a member with the Timesheets or Members module, approves or rejects it there.
Does rejected time disappear from timesheets?
No. Timesheets and reports still show all tracked time. Rejected time only stays out of hourly payroll.
Why is Timesheet Approval already on?
New organizations start with it on, but it has no effect below Elite. On Elite, turn it off if you don't want to approve time before hourly payroll pays it.
Tips
- Approve the Awaiting tab before you run hourly payroll.
- Keep Manual Time on if your team works away from the computer. Every entry needs a reason and shows in the Manual Time report.